."
Showing posts with label casserole. Show all posts

Monday, February 27, 2012

Sausage & Kale Mock Lasagna Casserole

So yeah, I suck.  I'm averaging only slightly more than 1 recipe per week in the month of February.  Sorry guys.  I'm in a bit of a rut.


I found this recipe on Kalyn's Kitchen.  Since I'm on a bit of a kale kick lately, I thought it would be a good way to use up a good portion of the gigantic bag that we picked up at the grocery store.  It's definitely a winner.


You'll need:


2 medium-sized bunches of kale (I used ~3/4 of a big bag that I bought at the grocery store)
1 tsp salt (for water to cook kale)
2 tsp olive oil
19.5 oz. tube of Italian sausage
1 jar tomato sauce
1 tsp dried basil
1 tsp ground fennel
parmesan cheese, shredded
2 cups reduced fat mozzarella cheese, grated


Preheat the oven to 375 degrees F.  Spray a 9x12 inch casserole dish (or a pan of comparable size) with cooking spray.  


Add the salt to a large pot of water and bring to a boil.  If necessary, trim the stems from the kale and cut into ribbons.  When the water begins boiling, add the kale and lower the heat.  Boil for 5-6 minutes.  The kale will turn a beautiful bright green.  Drain the kale into a colander and let it sit there and continue to drain while you deal with the rest of the ingredients.  You might want to squeeze it between some paper towels before using to squeeze out some of the remaining water.


While the kale cooks, heat the olive oil in a large skillet over medium-high heat.  Cook and crumble the sausage until it is browned and totally cooked through.  Then add the pasta sauce, dried basil, and ground fennel.  Let it simmer for 20 minutes or so, or until it reduces a bit.


In the casserole dish, layer half of the kale and sprinkle a bit of parmesan cheese on top.  Then add half of he pasta/sausage, and 1 cup of mozzarella.


I did it out of order, but you know... it all works out in the end.
Repeat with another layer of kale, sauce, and cheese.  Cover with foil and bake for 20-25 minutes.  Then remove the foil and bake for an additional 15-20.  The casserole will be bubbling by this point.

Let the casserole sit for about 5 minutes after baking before digging in.

This was excellent.  Before we were even finished eating, Sean asked if I would make it again sometime.  I plan on doing so this week.  It's a relatively guilt free way to get your lasagna fix.  I'd highly recommend it!  Enjoy!

Tuesday, January 3, 2012

Mac-Raff 'n' Cheese

Interesting name, right?  This recipe comes from the blog Patent & the Pantry.  If you follow that link, she provides an explanation as to how the dish got it's name.  I haven't been able to figure out an appropriate name of my own for it (other than omgdelicious), so it goes by the name she gave it.


Patent & the Pantry was one of the first blogs I started reading regularly upon discovering the world of food blogging.  In fact, when I began this blog, I started compiling a list of recipes that I love and knew that I had to share with you.  This was one of them.  Unfortunately, it has taken several months to bring this to you.


I made this on New Year's Eve for Sean, myself, and a couple of friends.  


To those of you who recently vowed to lose weight/get back in shape/eat better: I'm sorry.  To everyone else: you're welcome.


You'll need:


For the tomato sauce base
1 tbs olive oil
1 onion, diced
3 cloves garlic, minced
28 oz. can crushed tomatoes
14 oz. can diced tomatoes
1 tbs balsamic vinegar
pinch of sugar
salt and pepper, to taste
1/4 cup basil, roughly chopped


For the macaroni and cheese
1 box short cut pasta
1/4 cup butter (half stick)
1/4 cup flour
5 cups grated cheese (use whatever you'd like!)
3 cups milk
salt and pepper, to taste


Heat olive oil in a large pot over medium heat.  Add the onions, saute until translucent.  Add the garlic and stir for about a minute.  Add the can of crushed tomatoes, and let it simmer for a bit.  Then add in the can of diced tomatoes.  Stir in the balsamic vinegar and sugar.  Allow to simmer until the sauce has thickened and reduced a bit.  


Preheat the oven to 425 degrees F.


While things are thickening up and the oven is preheating, cook the pasta according to package directions.  As the pasta is cooking, you can start on the cheese sauce.  


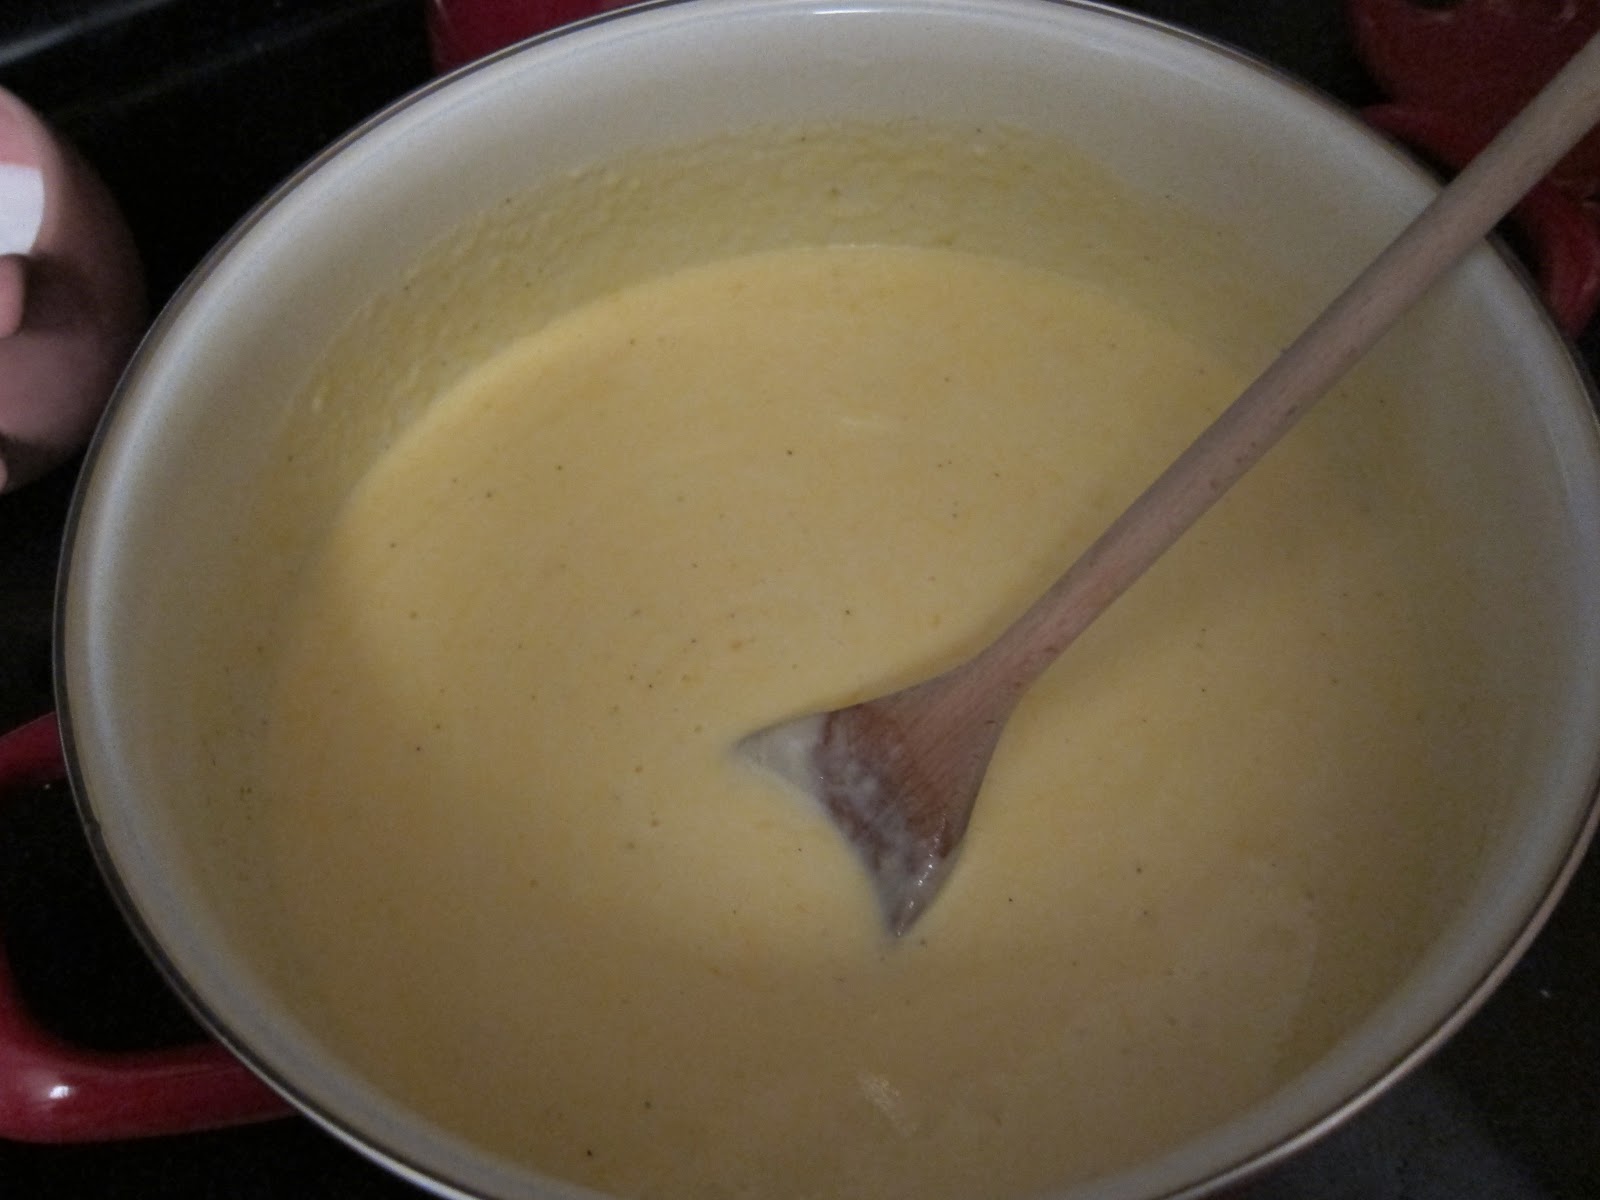
Melt the butter in a pot over medium-low heat.  When the melted butter is frothy and bubbling, add the flour and whisk until it is well-blended.  Continue cooking for a couple of minutes, so that the raw flour taste can cook out.  Slowly add the milk, whisking constantly to prevent lumps from forming.  


After the milk-flour mixture has thickened slightly, add in 4 cups of shredded cheese.  Stir it all together until it melts, and add salt and pepper to taste.  If it looks like it's too thick, you can always add a bit more milk.


Drain the pasta once it's done, and return it to the pot.  Add the cheese sauce to the pasta and stir to coat.


Put the tomato sauce in the base of a casserole dish.  Top with the macaroni and cheese.  Sprinkle everything with the remaining 1 cup of cheese.


Bake covered for 45 minutes - 1 hour.  Remove the lid and bake for an additional 10-20 minutes.


I usually bake up a smaller casserole for Sean and myself right away, and put the rest in a larger casserole dish to freeze and have at a later time.  To freeze any or all of this, follow all of the above directions, but stop before baking it.  Wrap it up and pop it in the freezer.  Just make sure to let it thaw before baking.  You will likely have to tack on some extra baking time, even after it has thawed.     


Seriously, one of the best things ever.  Try it.  Immediately.  I wouldn't lie to you, especially about something that is as heavily cheese-laden as this recipe.


The macaroni and cheese component is creamy and fantastic, and the sauce is tangy and savory, given an extra dimension with the addition of the balsamic vinegar.  And the layer where they two components meet?  Amazing.

Wednesday, October 5, 2011

Spicy Chicken and Rice Casserole

At last, a reprieve from the pumpkin recipes that have been flooding my blog ;).  Don't worry though, I have another pumpkin-related post waiting in the wings, and several more ideas just waiting to be cooked/baked.  I'll probably continue eating pumpkiny foods like a mad woman until I can't stand to look at the stuff.  Maybe not the best strategy... but that's how I roll!

As I tweeted at Josie of the blog Pink Parsley (great blog for those of you who have never been), my mouth is so happy that I decided to make this casserole.  While I omitted a few ingredients since I didn't have them, and baked the chicken ahead of time instead of poaching it (I knew I'd be pressed for time in the evening), my version stayed pretty true to the original recipe.

For serious though, don't be daunted by the length of the ingredient list!  It's well worth it, and I'd wager that you probably have a lot of this stuff in your cupboards and fridge anyway.


You'll need:


4 tbs unsalted butter
2 red bell peppers, chopped medium
1 medium onion, chopped
3 garlic cloves, minced
1 chipotle in adobo, minced (Add a 2nd if you really like heat, but these little guys are hotter than you might think!)
1 tsp ground cumin
1 tsp chili powder
1/4 cup flour
6 cups chicken broth
1 cup heavy cream
4-5 (smallish) chicken breast halves, cooked and shredded
1 1/2 cups white rice
1 cup (8 oz.) fiesta blend cheese, shredded (or whatever kind you'd like)
1 can (15.5 oz.) black beans, drained and rinsed
Juice of 2 limes
1 1/2 cups frozen corn
pepper
1/4 cup scallions, minced


Topping
6 oz. tortilla chips (or whatever is left in the bag, in my case)
2 tbs unsalted butter, melted
salt and pepper

Melt your butter in a large, heavy bottomed pot over medium heat.  Add in your bell peppers, onion, and 1 tsp salt.  Cook for ~8-10 minutes, or until the onions and peppers are soft.  Stir in the garlic, chipotles (maybe I'm just a wuss, but seriously watch out for these guys if you don't like much heat!), cumin, and chili powder; cook ~30 seconds.  Stir in the flour and cook, stirring occaisionally until golden, for approximately 1 minute.  Slowly whisk in the cream and broth.

Stir the rice into the pot, cover, and let it continue cooking on low heat.  Stir it pretty often until the rice has absorbed some of the liquid.  Let it cook for 20-25 minutes.  If things are still looking pretty soupy at this point, don't worry.  It will really thicken up once you put it in the oven.

While the rice is cooking, you can go ahead and get started on the topping.  Pulse the tortilla chips with melted butter in a food processor until coarse crumbs form (it took ~10 pulses).  Season with salt and pepper.  Set aside.

After allowing the rice to cook for 20-25 minutes, remove the pot from the heat.  Stir in the shredded chicken, black beans, corn, cheese, and lime juice.  Season with salt and pepper to taste.  Stir in the chopped scallions.

Now we come to an intersection in the road: Do we 1) Bake it all right now?; 2) Bake some and freeze some?; 3) Freeze it all now?

It's up to you! 

If baking immediately: Pour the mixture into a 9x13 baking dish and sprinkle with the crumb topping.  Bake in a 400 degree F oven, uncovered for 25-35 minutes.

If freezing some or all: Pour the mixture into your desired storage vessel.  Wrap the portion to be frozen tightly with foil and then plastic wrap.  This will be okay in the fridge for about 2 days, or will freeze for up to 1 month.  Thaw the casserole completely in the fridge prior to baking, if freezing.  Bake at 400, covered in foil, for about 1 hour.  Remove the foil and bake for 15-20 minutes longer.


This casserole is creamy, a bit crunchy from the topping, hearty, filling, and a tad spicy.  It was really, really good.

This recipe really does make a ton of food.  So if you're one of those types (like me) who loves to freeze meals ahead of time to make things easier on yourself later on, this casserole is probably for you.  We managed to get an 8x8 dish (for dinner that night and leftovers the day after) as well as a mostly-filled 9x13 dish to freeze and eat at a later date out of this recipe.  In fact, I'll probably break this bad boy out of the freezer this weekend.  Can't wait!