."

Tuesday, January 3, 2012

Mac-Raff 'n' Cheese

Interesting name, right?  This recipe comes from the blog Patent & the Pantry.  If you follow that link, she provides an explanation as to how the dish got it's name.  I haven't been able to figure out an appropriate name of my own for it (other than omgdelicious), so it goes by the name she gave it.


Patent & the Pantry was one of the first blogs I started reading regularly upon discovering the world of food blogging.  In fact, when I began this blog, I started compiling a list of recipes that I love and knew that I had to share with you.  This was one of them.  Unfortunately, it has taken several months to bring this to you.


I made this on New Year's Eve for Sean, myself, and a couple of friends.  


To those of you who recently vowed to lose weight/get back in shape/eat better: I'm sorry.  To everyone else: you're welcome.


You'll need:


For the tomato sauce base
1 tbs olive oil
1 onion, diced
3 cloves garlic, minced
28 oz. can crushed tomatoes
14 oz. can diced tomatoes
1 tbs balsamic vinegar
pinch of sugar
salt and pepper, to taste
1/4 cup basil, roughly chopped


For the macaroni and cheese
1 box short cut pasta
1/4 cup butter (half stick)
1/4 cup flour
5 cups grated cheese (use whatever you'd like!)
3 cups milk
salt and pepper, to taste


Heat olive oil in a large pot over medium heat.  Add the onions, saute until translucent.  Add the garlic and stir for about a minute.  Add the can of crushed tomatoes, and let it simmer for a bit.  Then add in the can of diced tomatoes.  Stir in the balsamic vinegar and sugar.  Allow to simmer until the sauce has thickened and reduced a bit.  


Preheat the oven to 425 degrees F.


While things are thickening up and the oven is preheating, cook the pasta according to package directions.  As the pasta is cooking, you can start on the cheese sauce.  


Melt the butter in a pot over medium-low heat.  When the melted butter is frothy and bubbling, add the flour and whisk until it is well-blended.  Continue cooking for a couple of minutes, so that the raw flour taste can cook out.  Slowly add the milk, whisking constantly to prevent lumps from forming.  


After the milk-flour mixture has thickened slightly, add in 4 cups of shredded cheese.  Stir it all together until it melts, and add salt and pepper to taste.  If it looks like it's too thick, you can always add a bit more milk.
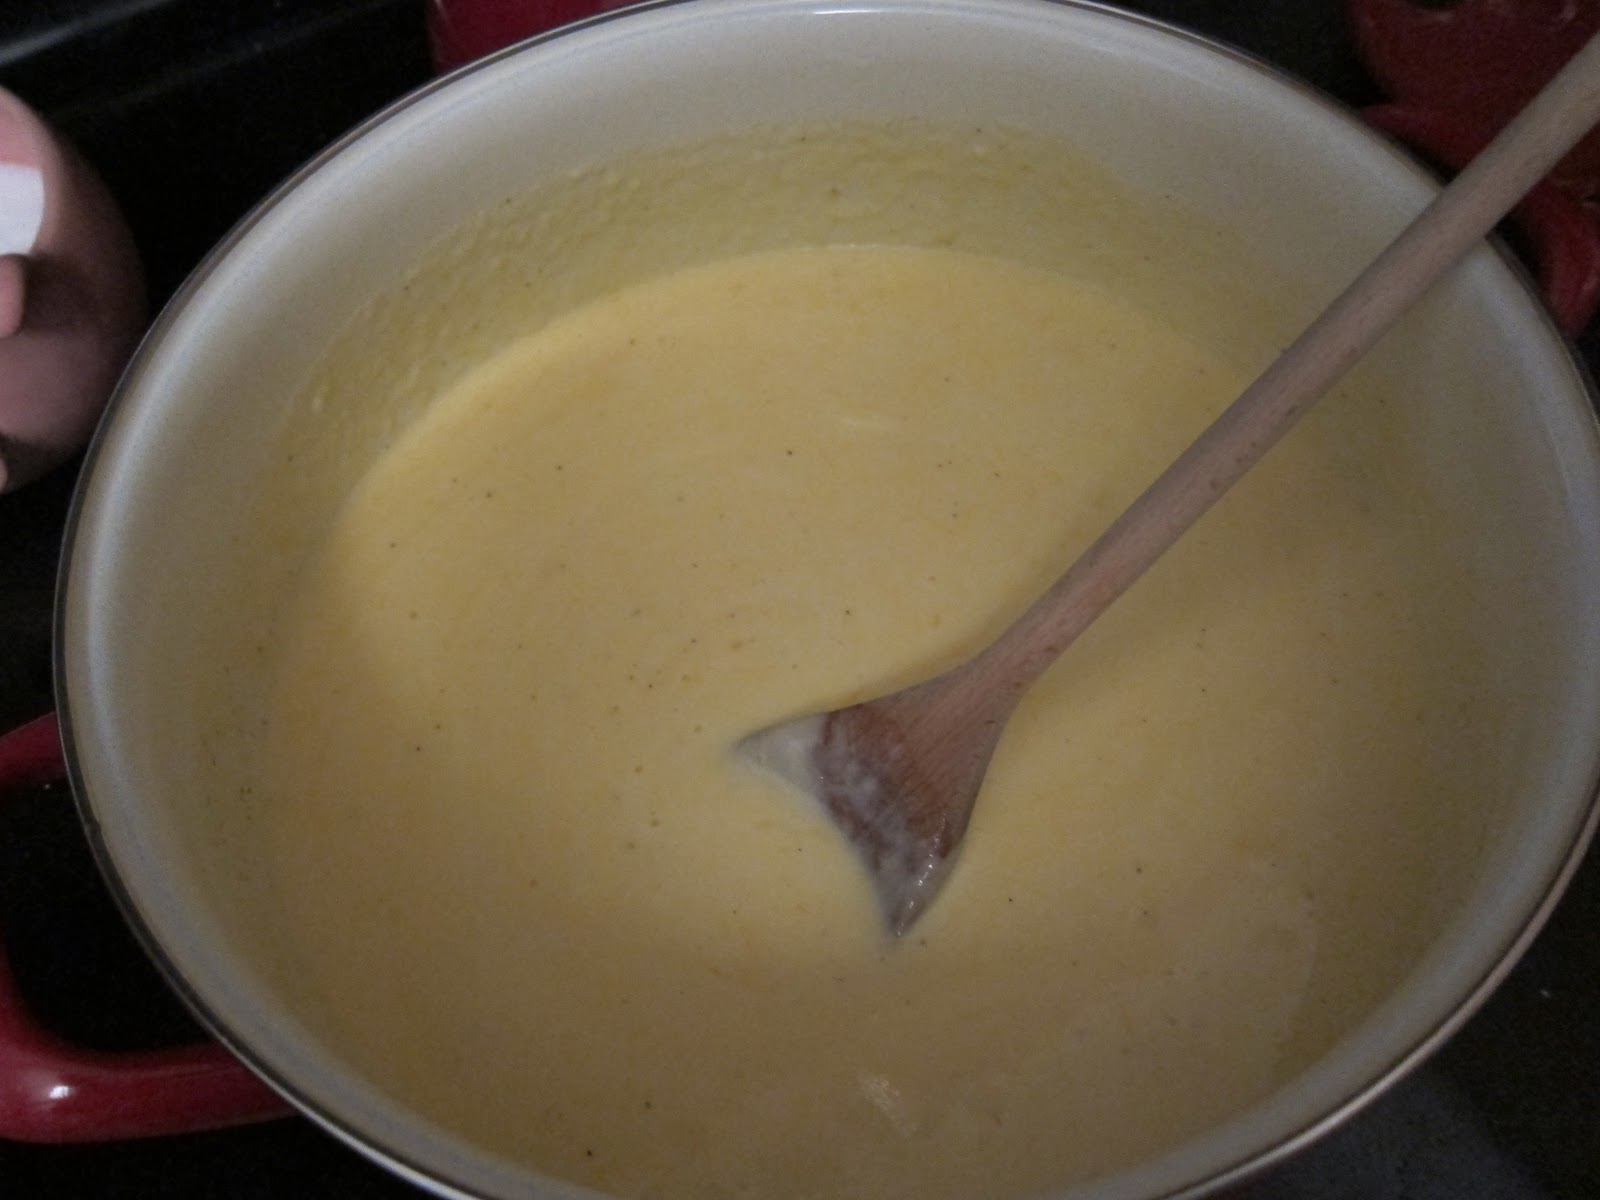


Drain the pasta once it's done, and return it to the pot.  Add the cheese sauce to the pasta and stir to coat.


Put the tomato sauce in the base of a casserole dish.  Top with the macaroni and cheese.  Sprinkle everything with the remaining 1 cup of cheese.


Bake covered for 45 minutes - 1 hour.  Remove the lid and bake for an additional 10-20 minutes.


I usually bake up a smaller casserole for Sean and myself right away, and put the rest in a larger casserole dish to freeze and have at a later time.  To freeze any or all of this, follow all of the above directions, but stop before baking it.  Wrap it up and pop it in the freezer.  Just make sure to let it thaw before baking.  You will likely have to tack on some extra baking time, even after it has thawed.     


Seriously, one of the best things ever.  Try it.  Immediately.  I wouldn't lie to you, especially about something that is as heavily cheese-laden as this recipe.


The macaroni and cheese component is creamy and fantastic, and the sauce is tangy and savory, given an extra dimension with the addition of the balsamic vinegar.  And the layer where they two components meet?  Amazing.

Saturday, December 31, 2011

Happy New Year!

Hello everyone!!  I see a lot of "best of" and/or "top 10" lists on people's blogs.  Since I've only been blogging since August, and definitely have A LOT to learn, I don't really feel qualified to publish such a list.  In lieu of a list of the best/most popular recipes I've put out there thus far, let me share with you our menu for this New Year's weekend and give you a sneak peek of what's to come.


Saturday:
Shrimp Wonton Cups from the Pampered Chef (coming soon!)
Mac-Raff n' Cheese from Patent & the Pantry (coming soon!)
Sauteed kale (coming soon!)
Homemade chocolate ice cream (coming soon!)
Cranberry-Orange Infused Liqueur with champagne


Sunday:
Crock Pot Kielbasa, Pork, and Sauerkraut
Make Ahead Mashed Potatoes


So, as you can see, plenty of new recipes will be appearing on this blog in the early days of 2012! In addition to the ones being prepared this weekend, I have quite a few sitting around as drafts, waiting to be published.


At any rate, I hope that you all have a truly happy start to the new year.  If you're celebrating, please do so safely.  Have fun, and I'll see you in 2012!!

Friday, December 30, 2011

Peanut Chocolate Chip Pretzel Oatmeal Cookies

When Sean was out of town for the weekend a few weeks ago, I decided to go on a baking rampage.  I made these cookies, some more Oreo Chocolate Chunk Cookies, Homemade Dog and Cat Treats, and some festive Chocolate Covered Pretzels.  In order to make sure that they were fresh for the holidays, I froze a batch of both kinds of cookies.  They freeze very well.  All you need to do is let them cool completely (and I mean completely, don't get antsy), and put them in zip top bags.  Put wax paper between the layers of cookies, and squeeze out all of the air.  Then pop them in the freezer!  Anyway, on to the cookies.


This recipe was found on the blog Food~Fitness~FreshAir.


You'll need:


2 cups whole wheat flour
1 tsp baking soda
1 tsp baking powder
1/2 tsp salt
1 1/2 cups rolled oats
2 sticks butter, room temperature
3/4 cups granulated sugar
1 cup brown sugar, firmly packed
1 tsp vanilla extract
2 large eggs
12 oz. semisweet chocolate chips
1 cup thin salty pretzels, broken into small pieces
1/2 cup salted peanuts, halved or roughly chopped


Preheat the oven to 350 degrees F.


In a large bowl, mix together the flour, baking soda, baking powder, salt, and oats.


In another large bowl (or your stand mixer), cream together the butter and sugars.  Add the vanilla and eggs, and beat until thoroughly combined.


Slowly add the dry ingredients to the wet, mixing until just combined.  Stir in the chocolate chips and peanuts.


Spray your cookie sheet(s) with cooking spray.  Place ~2 tbs dough balls, slightly flattened on the cookie sheet.  Sprinkle the pretzel pieces on top, pressing them into the dough slightly.  Bake 12-13 minutes, until edges are golden brown.


Makes 3 - 3 1/2 dozen cookies.


My apologies for the hastily taken photo (even more so than usual...).  I had fully intended to blog about these cookies prior to Christmas, but obviously didn't, and photographing them didn't occur to me until I was setting them out to be consumed on Christmas day.  

The verdict?  These cookies were a bit different, but good!  They're nice and chewy, but still have the crunchy elements, too.  I like to delude myself into thinking that these cookies are healthy-ish, since they're made with oats and whole wheat flour.  Don't burst my bubble, please.  

The pretzels give them a little extra something.  Although next time I make them I might try crushing up more pretzels and mixing them in with the dough.  And I'd definitely add more peanuts and chocolate chips, too.  If you're in the mood for some slightly different chocolate chip cookies, give these a shot.  Enjoy!

Thursday, December 29, 2011

Buffalo Shrimp Dip

I almost forgot about this post.  It's been sitting there, labeled as a draft for about a month and a half now.  Why I never decided to finish and post this is a mystery.  Especially since this dip was so good.  Everybody loves some Buffalo Chicken Dip (see also: Crack Dip), right?  Right.  Well how about Buffalo Shrimp Dip??  I don't know why I never thought to make it with shrimp, since the idea is clearly genius.  At any rate, this is a nice, very easy variation on a classic tailgating/party/any time staple.


Recipe adapted from the Snappy Gourmet's blog.


You'll need:


8 oz. package of low fat cream cheese
1 cup low fat sour cream
1 cup shredded cheddar, plus a little more for the topping
1/2 cup Frank's hot sauce
1 (1 oz.) Ranch seasoning packet
2 tsp lemon juice
1 lb. cooked shrimp, chopped
vegetables, pita, crackers, chips, etc. for dipping


Preheat the oven to 350 degrees F.  


In a large mixing bowl, mix together the cream cheese, sour cream, shredded cheese, hot sauce, Ranch seasoning, and lemon juice until well combined.  Stir in shrimp.


Scrape the dip into an oven safe dish, and top with some more cheese.  Bake for approximately an hour.


I could have sworn that I had some pictures of the finished product... but as it turns out, all I have is the "before" pictures.  Oh well, you get the idea!  If you'd prefer the original recipe, by all means substitute some cooked shredded or chopped chicken (or the canned stuff) for some or all of the shrimp.  

The dip seems to get spicier the longer it cooks, so if you're concerned about the heat level, consider reducing the amount of hot sauce you use.

If you're having friends over, heading to a party, or are just hungry for some dip, consider making this one.  Enjoy!!

Tuesday, December 27, 2011

Cranberry-Orange Infused Liqueur

This is really plain vodka infused with the flavors of cranberries and orange.  And it is fabulous.  I used this recipe from Creative Culinary, although I have seen variations elsewhere on the internet. 
You'll need:

1 cup water

2 cups granulated sugar
2 cups fresh cranberries
3 tbs fresh squeezed orange juice
1 tbs grated orange zest
2 cups vodka (use something relatively decent, please!)

Combine the water and sugar in a heavy saucepan and bring it to a boil.  Simmer the mixture for 3 minutes, making sure all of the sugar has dissolved.  Congratulations, you have just made a simple syrup!

Add the cranberries, orange juice and zest.  Remove from the heat and allow to cool slightly.
Add the mixture to a blender or food processor.  Be careful, this can be sticky work if you spill some.  Pulse slightly, just enough to open up the berries.  Cool this mixture completely.

Once it has cooled, add the vodka (I used Smirnoff) and mix thoroughly.  

Pour this mixture into a container for storage.  Cover and store in a dark, cool location for 3 weeks.**  Stir every few days.

When you're ready to use the liqueur, strain it through a fine metal sieve.  You can store this in an airtight container, or in something more open if you're going to be using it immediately.
Though you can use this in any way you see fit, I poured it in the bottom of a champagne flute and topped it with some champagne.   

This little cocktail is festive as hell, if I may say so myself!  It's sweet, and goes down very easily.  So watch yourself =).  This cocktail was really nice on Christmas day, I'll probably use up my leftover liqueur on New Year's Eve.  But don't let the season limit you.  This would be nice any time!

**I allowed my liqueur to "brew" for about 9 days, rather than the 3 weeks that the original recipe recommends.  I think it would only get better and better if I let it sit longer, but I found that 9 days was enough to allow the flavors to really meld together.  Let yours sit for as long as you'd like, or as long as your time table will permit.

Monday, December 26, 2011

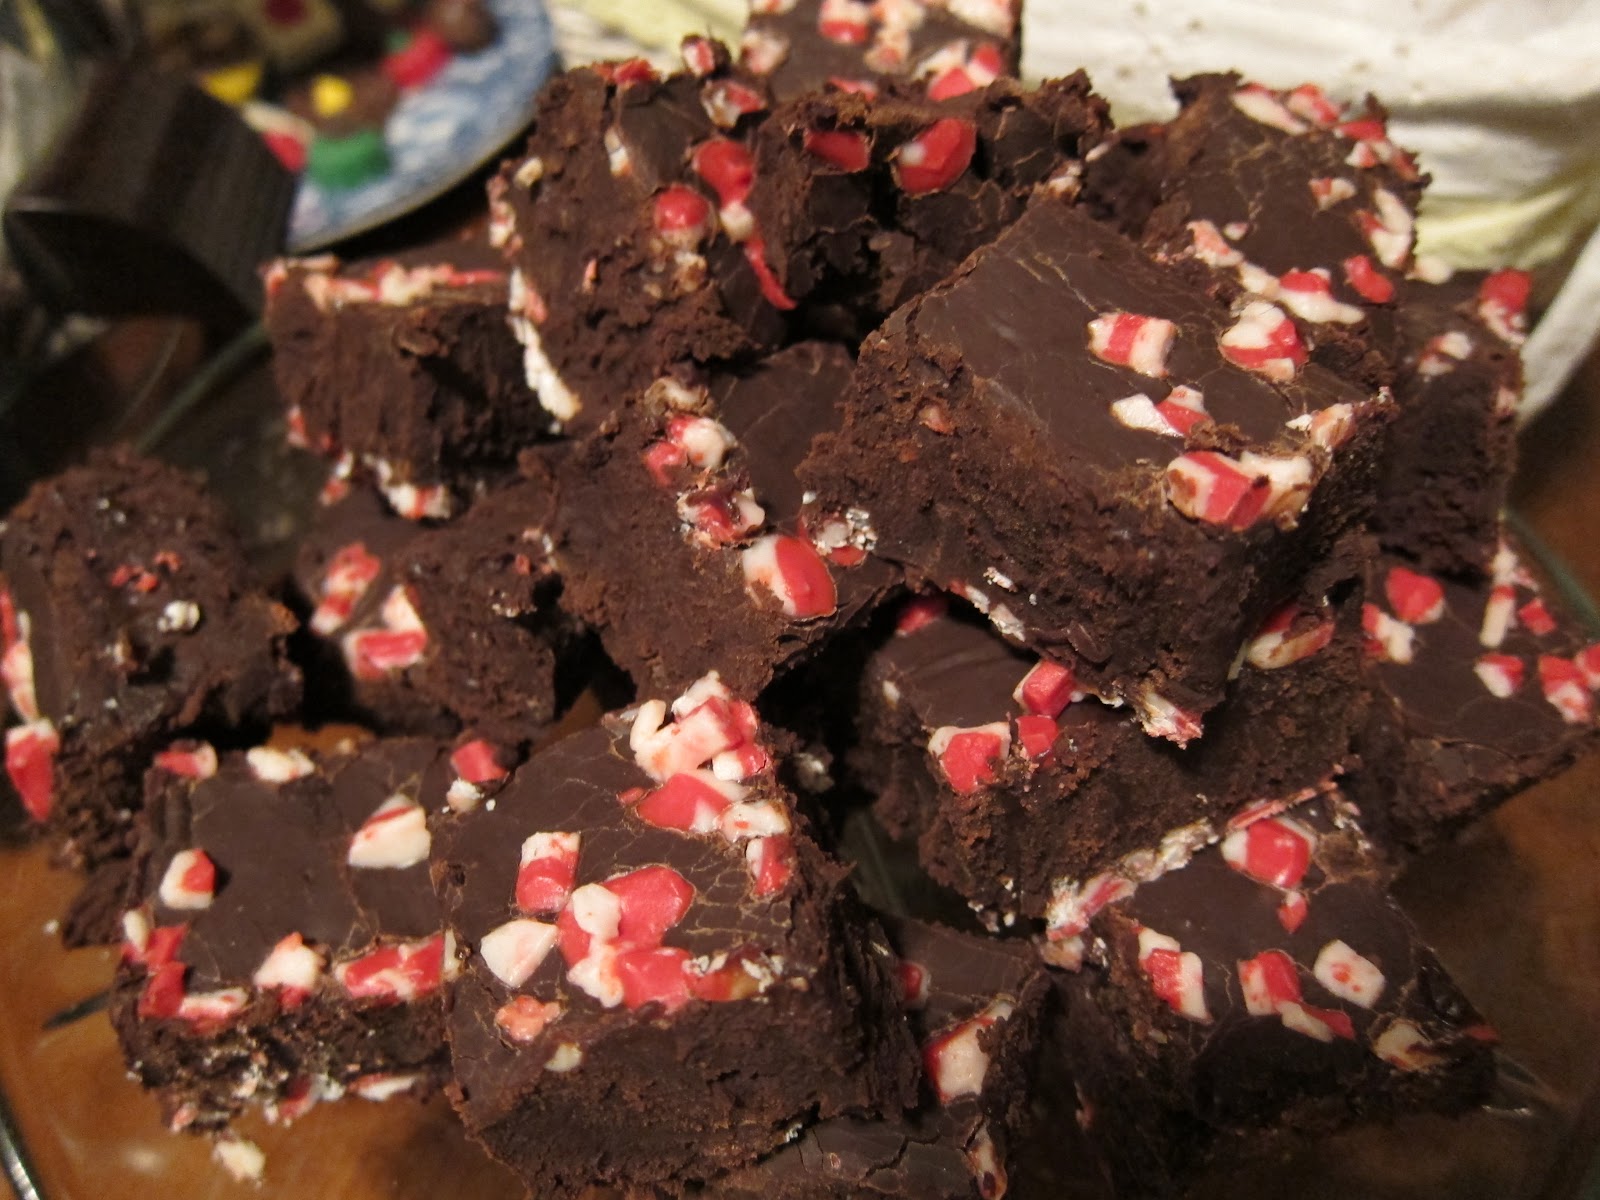
Dark Chocolate Peppermint Fudge

Dark Chocolate Peppermint Fudge.  Ya heard.  Plus a short roundup of how the Pacek family Christmas went (our first Christmas as a married couple!).


Between visiting Sean's grandparents up in Punxsutawney, PA (yes... where the groundhog lives...) on Christmas Eve and spending a very relaxing Christmas day at my parents' house, we had an extremely enjoyable holiday.  Everyone is healthy and doing well, so I can't complain there.  I just wish I had thought to take more pictures of the food, because it was awesome: homemade pierogies, sauerkraut, turkey roll, mushrooms at his grandparents' and pork tenderloin, mashed potatoes, some tasty shrimp-filled wontons, and a ton of cheese at my parents'.  I may have overindulged.  Just a little.  Have I mentioned that I am borderline obsessed with cheese?
Left to right: horseradish, salsa jack, and apple-cinnamon.  This makes me happy.
We both got some really nice stuff, too.  Among other things, we received new luggage (badly needed), some books and clothes, and my parents got us an ice cream maker attachment for my KitchenAid mixer.  Be on the lookout for some ice cream recipes in the fairly near future!  My mom also picked me up a copy of Ree Drummond's The Pioneer Woman Cooks: Recipes from an Accidental Country Girl.  So... yeah.  Be on the lookout for a lot of PW recipes, too.  She has some really great looking recipes in this cookbook.  Maeby made out pretty well, too.  Gram Tam (my mom) got her a nice container to keep her dog food in (and of course it's red to match my kitchen!), a well as some treats and a new Nylabone.  She was a happy little girl.


Anyway, on to what you're really here for: the recipe.  I found this recipe on the blog A Spicy Perspective, and not only is it delicious, it is incredibly easy to make.  I don't know why the word "fudge" always conjured up images of some ridiculously complicated preparation in my mind, but that's definitely not the case.  


You'll need:


14 oz. can sweetened condensed milk
1 tbs butter, plus extra for greasing dish
1 lb. dark chocolate chips/chunks
1/4 tsp salt
1/4 tsp peppermint extract
1 tsp vanilla extract
1 cup Andes Peppermint Chunks


Grease an 8x8 baking dish.  Sprinkle half of the peppermint chunks into the bottom of the dish and set aside.


Place a medium sauce pot over medium heat with about 2 inches of water.  Place a glass bowl over the top, making sure the glass bowl doesn't touch the water.  You've just created a double-boiler.


Pour the condensed milk and butter into the bowl and heat.


Add the chocolate and salt to the bowl.  Stir the chocolate until it melts and thickens.  The mixture should be pretty thick, like a thick cake batter.


Add the extracts and mix well.  


Pour the mixture into the baking dish.  Gently tap the dish on the counter for a minute or so.  This will help release any air bubbles that are trapped under the surface.  


Sprinkle the remaining peppermint chunks over the top and refrigerate for at least 3 hours, and possibly longer, until the fudge sets.


To cut, dip a knife in hot water, wipe off, and cut quickly.  You can dip and wipe between cuts (you'll probably need to).  Cut fudge into desired shape and size.  I think I ended up cutting mine into 30 square pieces.  I do feel obligated to say that I had a devil of a time cutting this up and getting it out of the pan.  Is this always the case with fudge, or am I just challenged in this arena?


Despite having difficulty making very neat cuts, the fudge came out very well (if I do say so myself), and was smooth and creamy.  The chocolate/peppermint combination was perfect.  I admit that I had to order the Andes Peppermint Chips on Amazon.com, since I simply couldn't find them in Baltimore.  They're pretty cool, though.  I kept eating them out of the bag as I made the fudge.  They put me in mind of the big, soft, individually-wrapped peppermint balls, only softer.  Delicious.


I realize that this is sort of a Christmas-y fudge, but you could definitely get away with making it through the remainder of the winter, and no one would complain.  Or, heck, put this recipe in your back pocket for the next holiday season!  Either way, I hope you enjoy it as much as we did.

Sunday, December 25, 2011

Merry Christmas!

Merry Christmas, everyone!  I hope that your holiday has been a very happy one.  Mine has been excellent thus far.  After the excitement dies down a little (i.e., tomorrow) I'll be bringing you some more recipes.  In the coming days you can look forward to: dark chocolate peppermint fudge, cranberry-orange infused liqueur, chocolate chip peanut oatmeal pretzel cookies, and many more.  

For now, I'll leave you with a picture of my Maeby baby =)

Merry Christmas, everyone!  Have a safe and happy holiday.