I came across this post while perusing Foodgawker. It's from the blog The Comfort of Cooking.
You'll need:
8 cups (1/2 gallon) whole milk
1 cup heavy cream
1/2 tsp salt
2 tbs fresh lemon juice
Line a large strainer with cheesecloth and place it over a large bowl. Set this aside for now.
Slowly bring the milk, cream, and salt to a rolling boil in a large pot (6 quarts or so) over medium heat. Stir occasionally to prevent scorching. Once it has come to a boil, add the lemon juice. Reduce heat to low and simmer, stirring pretty much constantly, until small curds form. The original recipe said that the curds should form in about 5 minutes. It took a lot longer for mine. So if yours doesn't seem to be cooperating at first, don't fret.
Pour the mixture into the lined strainer and let it drain for 10 minutes. After discarding the liquid (Or hang onto it! Check out this website for ideas.), chill the ricotta, covered. It should keep in the fridge for a few days.
Easy, right? Right. This ricotta is sweet and fluffy. Though I was skeptical at first, it is definitely better than anything you could buy at the grocery store. The recipe makes about 2 cups of cheese.
How can you use it? The possibilities are endless: use it in a lasagna, stuffed shells, manicotti, calzone filling, pizza topping, filling for a stuffed chicken breast (I'll be bringing you a recipe for one of these this week!), or really anything you can dream up. In addition to the aforementioned stuffed chicken breasts, I've been eating mine with breakfast. Toast some bread, slather on as much ricotta as you'd like, and drizzle with some honey. Delicious.
Enjoy!
Monday, April 9, 2012
Thursday, April 5, 2012
Cheeseburger Beer Soup
Hello everyone! My friend, Kim, over at Feeeeed Me, Seymour is celebrating National Beer Appreciation Week. I was so excited when she asked me to contribute a guest post. I went with Cheeseburger Beer Soup from the blog Soup Addict.
Please go check out my guest post: http://feeeeedmeseymour.wordpress.com/2012/04/05/beer-week-rages-on-laurens-cheeseburger-beer-soup/
You won't regret it! Enjoy!
Wednesday, April 4, 2012
More gardening + an easy DIY project
Hello everyone! Over the weekend I was able to get the rest of my container garden planted. I added some:
| Husky Cherry Red Tomatoes |
| Chocolate Mint |
| Red Bell Peppers (looking a little droopy here...) |
| Dwarf Meyer Lemon tree!!! Admittedly, it doesn't look quite how I'd expected... But it's still exciting! |
| This is how my balcony looks, complete with dog bed and potty patch! |
And now for the easy DIY project... Like so many wonderful projects, this one was inspired by something that I saw on Pinterest. I've seen a few different pins from different websites (this is an example). Basically, all you do is gather up some wine corks, write the names of your different herbs and veggies on them, spear them with a wooden skewer, and stick 'em in the pots! Cute, right? I have them in all of my pots. I think that they're pretty adorable.
Happy gardening! =)
Sunday, April 1, 2012
Peanut Butter Oatmeal White Chocolate Cookies
I baked these cookies on a whim a couple of weekends ago. I had a buttload of work to do, and was well aware of it. What did I decide to do instead? Go to yoga (Yes, I started doing yoga! Though it's kicking my butt, I'm enjoying it immensely so far.), take a nap with Maeby, and then do a little procrasti-baking.
Thanks to urbandictionary.com for the definition.
Perhaps not the best string of ideas, as far as productivity goes... but it yielded some tasty cookies!
This recipe comes from the blog Love Veggies and Yoga.
You'll need:
1 stick of butter
1/3 cup peanut butter
1 cup brown sugar
1/2 cup white granulated sugar
1 egg plus 1 yolk
2 tsp vanilla extract
1 1/4 cup all purpose flour
1 cup old fashioned oats
1/2 tsp baking soda
3/4 cup white chocolate chips
1/2 cup peanut butter chips (or butterscotch, chocolate, etc.)
Preheat your oven to 325 degrees F.
In a medium-sized, microwave safe bowl, melt the butter and peanut butter together. Nuke it in 30 second intervals, stirring in between. It should only take about 90 seconds or so.
Add the sugars to the melted butter and peanut butter mixture. Stir together. Place the bowl in the freezer for a few minutes, or if you have some time on your hands, allow this mixture to come to room temperature on its own. The purpose behind doing this is to cool the mixture before adding eggs, thus preventing inadvertent scrambling.
Remove the mixture from the freezer and add the whole egg and egg yolk, and vanilla extract. Stir together.
Add the flour, oats, baking soda, and stir to combine. Add in the chocolate chips and peanut butter chips too, and stir to combine again.
Drop or roll ~1-inch balls of dough onto cookie sheets, approximately 2 inches apart.
Bake for 10-12 minutes. Then enjoy!
| procrastibaking | 9 up, 3 down | |
to procrastinate writing a paper (or other dreaded task) by baking
Instead of writing my dissertation, I was procrastibaking all weekend. Enjoy the muffins.
| ||
Thanks to urbandictionary.com for the definition.
Perhaps not the best string of ideas, as far as productivity goes... but it yielded some tasty cookies!
This recipe comes from the blog Love Veggies and Yoga.
You'll need:
1 stick of butter
1/3 cup peanut butter
1 cup brown sugar
1/2 cup white granulated sugar
1 egg plus 1 yolk
2 tsp vanilla extract
1 1/4 cup all purpose flour
1 cup old fashioned oats
1/2 tsp baking soda
3/4 cup white chocolate chips
1/2 cup peanut butter chips (or butterscotch, chocolate, etc.)
Preheat your oven to 325 degrees F.
In a medium-sized, microwave safe bowl, melt the butter and peanut butter together. Nuke it in 30 second intervals, stirring in between. It should only take about 90 seconds or so.
Add the sugars to the melted butter and peanut butter mixture. Stir together. Place the bowl in the freezer for a few minutes, or if you have some time on your hands, allow this mixture to come to room temperature on its own. The purpose behind doing this is to cool the mixture before adding eggs, thus preventing inadvertent scrambling.
Remove the mixture from the freezer and add the whole egg and egg yolk, and vanilla extract. Stir together.
Add the flour, oats, baking soda, and stir to combine. Add in the chocolate chips and peanut butter chips too, and stir to combine again.
Drop or roll ~1-inch balls of dough onto cookie sheets, approximately 2 inches apart.
Bake for 10-12 minutes. Then enjoy!
Thursday, March 29, 2012
Adventures in Container Gardening
The idea of being able to grow my own vegetables and herbs is very appealing to me. Unfortunately, living in an apartment in an urban area isn't exactly conducive to gardening. Or so I thought. Little did I know that you can grow a wide variety of vegetables in containers on your porch/patio/balcony.
I'm really happy that this is the case, because I really like growing my own herbs and whatnot. I started growing basil and parsley during the summers when I was in college, and just last summer tried my hand at cherry tomatoes. It was a pretty successful venture, and as a result, I've decided to branch out a bit and try my hand at growing some new things.
A disclaimer: Now, I do not profess to be some sort of expert in this area. Any of my successes can be attributed to some combination of: 1) luck; 2) fortuitous Googling; and 3) good advice from my Dad. However, I still wanted to share with you some of my adventures and misadventures in container gardening.
Oh, also, I don't have enough confidence in my gardening abilities just yet to start my plants from seed. I cheat a bit and go pick up the plants from Lowe's or Walmart.
What I'll be growing this spring/summer:
Herbs
Basil (LOTS of it)
Flat leaf parsley
Rosemary
Cilantro
Vegetables
Husky Cherry Red tomatoes
Better Bush tomatoes
Bell peppers (still looking for these in stores!)
I didn't include a picture of my Husky Cherry Reds because I ran out of potting soil and haven't had the chance to plant them. Also, like I said, I'm still on the lookout for bell pepper plants. Aaaand... as anyone who follows me or this blog on Facebook (http://www.facebook.com/HeyWhoCutTheCheese) might know, I just bought a dwarf Meyer lemon tree! It should be shipping this weekend. Can't wait to see what it's like when it arrives.
Check it out: http://www.starkbros.com/products/fruit-trees/additional-fruit-trees/meyeri-lemon
But anyway, this is what I'm working with this season. Stay tuned and I'll try to bring you weekly updates on how my vegetables and herbs (and lemons, eventually!) are progressing, as well as some tips that I've found to be helpful.
What are you planning to grow this season?
I'm really happy that this is the case, because I really like growing my own herbs and whatnot. I started growing basil and parsley during the summers when I was in college, and just last summer tried my hand at cherry tomatoes. It was a pretty successful venture, and as a result, I've decided to branch out a bit and try my hand at growing some new things.
A disclaimer: Now, I do not profess to be some sort of expert in this area. Any of my successes can be attributed to some combination of: 1) luck; 2) fortuitous Googling; and 3) good advice from my Dad. However, I still wanted to share with you some of my adventures and misadventures in container gardening.
Oh, also, I don't have enough confidence in my gardening abilities just yet to start my plants from seed. I cheat a bit and go pick up the plants from Lowe's or Walmart.
What I'll be growing this spring/summer:
Herbs
Basil (LOTS of it)
Flat leaf parsley
Rosemary
Cilantro
Vegetables
Husky Cherry Red tomatoes
Better Bush tomatoes
Bell peppers (still looking for these in stores!)
| This is what I'm working with. Nothing too fancy. |
| Rosemary, with too much soil in the pot. Whoops. |
| Parsley (left) and cilantro (right). Looking a little droopy before I watered them. |
| Better Bush tomato plant that already has... |
| TINY TOMATOES ON IT! |
I didn't include a picture of my Husky Cherry Reds because I ran out of potting soil and haven't had the chance to plant them. Also, like I said, I'm still on the lookout for bell pepper plants. Aaaand... as anyone who follows me or this blog on Facebook (http://www.facebook.com/HeyWhoCutTheCheese) might know, I just bought a dwarf Meyer lemon tree! It should be shipping this weekend. Can't wait to see what it's like when it arrives.
Check it out: http://www.starkbros.com/products/fruit-trees/additional-fruit-trees/meyeri-lemon
But anyway, this is what I'm working with this season. Stay tuned and I'll try to bring you weekly updates on how my vegetables and herbs (and lemons, eventually!) are progressing, as well as some tips that I've found to be helpful.
What are you planning to grow this season?
Sunday, March 18, 2012
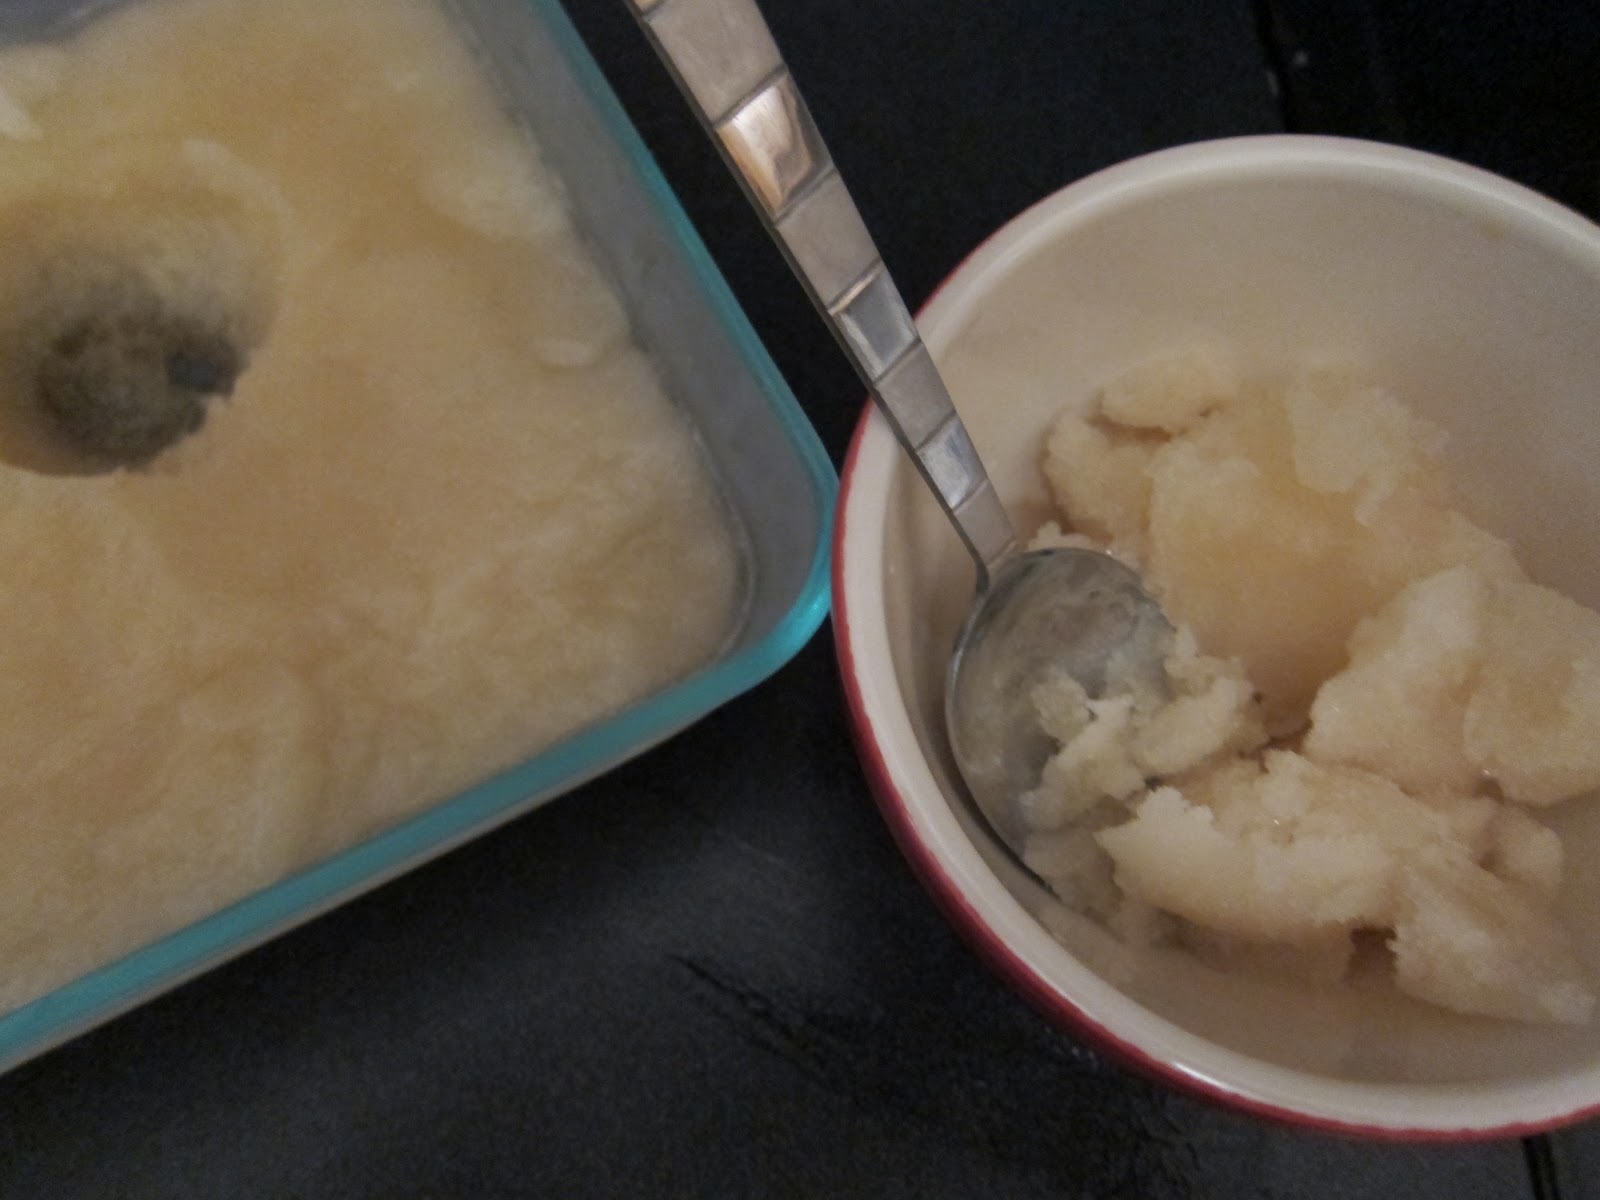
Woodchuck Draft Cider Sorbet
Okay, everybody stop what you're doing. *insert record screech here* I found a recipe for a Woodchuck Cider-based sorbet. Yeah, ya heard. Anyone who knows me fairly well can tell you that I love Woodchuck. Love. It.
I originally stumbled across this recipe while perusing Pinterest. The recipe comes from Elle's New England Kitchen.
You'll need:
2 bottles Woodchuck Cider, ice cold (Whatever variety you prefer. I used Amber.)
2 tbs sugar
1 tbs lemon juice
In a medium bowl, whisk the cider, sugar, and lemon juice together. Keep whisking until the sugar is completely dissolved. Give it a taste and adjust the sweetness if necessary.
Unless you have been putsying around in the kitchen, your mixture should still be very cold. However, if you feel like it isn't cold enough, stick it back in the fridge for an hour or two before putting it in your ice cream maker.
However, if you've kept your eyes on the prize, go ahead and freeze according to the manufacturer's instructions for your ice cream maker.
Easy as that!
This was really refreshing, and though perfect any time of year, would be amazing on a hot summer night. I can't wait to try this out with some of the other Woodchuck varieties (Pear, Raspberry, etc.), because I'm sure they will all be really tasty.
Don't forget that this sorbet contains alcohol! Enjoy!
Saturday, March 3, 2012
White Bean Salad w/ Oven Roasted Tomatoes
How is it possible that it took me this long to discover the deliciousness of oven roasted tomatoes?? I mean, honestly. They are so good, and so simple to make. If you haven't tried them yet, you will be pleasantly surprised.
In keeping with my promise of giving you more healthy recipes this year (even though I've obviously dropped the ball several times already), I bring you a delicious side dish/lunch option: White Bean Salad with Oven Roasted Tomatoes, from the blog Pink Parsley. I've modified it just a bit based on the ingredients that I had in my fridge.
You'll need:
1 pint cherry/grape tomatoes
1/4 cup extra virgin olive oil
1 tbs sugar
salt and pepper
2 15 oz. cans cannellini beans (or great northern beans)
1/3 cup toasted slivered almonds
zest and juice of 1 lemon
1/2 cup crumbled feta cheese
arugula, for serving
Preheat your oven to 350 degrees F. Cut the tomatoes in half and place them cut side up on a baking sheet. You probably want to line that baking sheet with foil, since things are going to get a little messy.
In a medium bowl (or large measuring cup, or whatever), whisk together the olive oil, sugar, salt and pepper. Pour the mixture over the tomatoes. Roast for 45-60 minutes, or until the tomatoes start to caramelize. You'll notice that the edges start to shrivel up. Let them cool to room temperature.
Meanwhile, combine the 2 cans of beans, almonds, lemon juice and zest, and cheese in a large bowl. Once the tomatoes are cool, stir them and their juices into the bean salad. Give it a taste and adjust the seasonings as needed.
You can eat this salad as is, or serve it on a bed of arugula. Personally, I could eat all of this as is. However, nestling it into a bed of arugula is faaantastic. The peppery flavor of the arugula goes with the sweetness of the tomatoes and brightness of the lemon juice really, really well.
Enjoy!! =D
Subscribe to:
Posts (Atom)
.jpg)